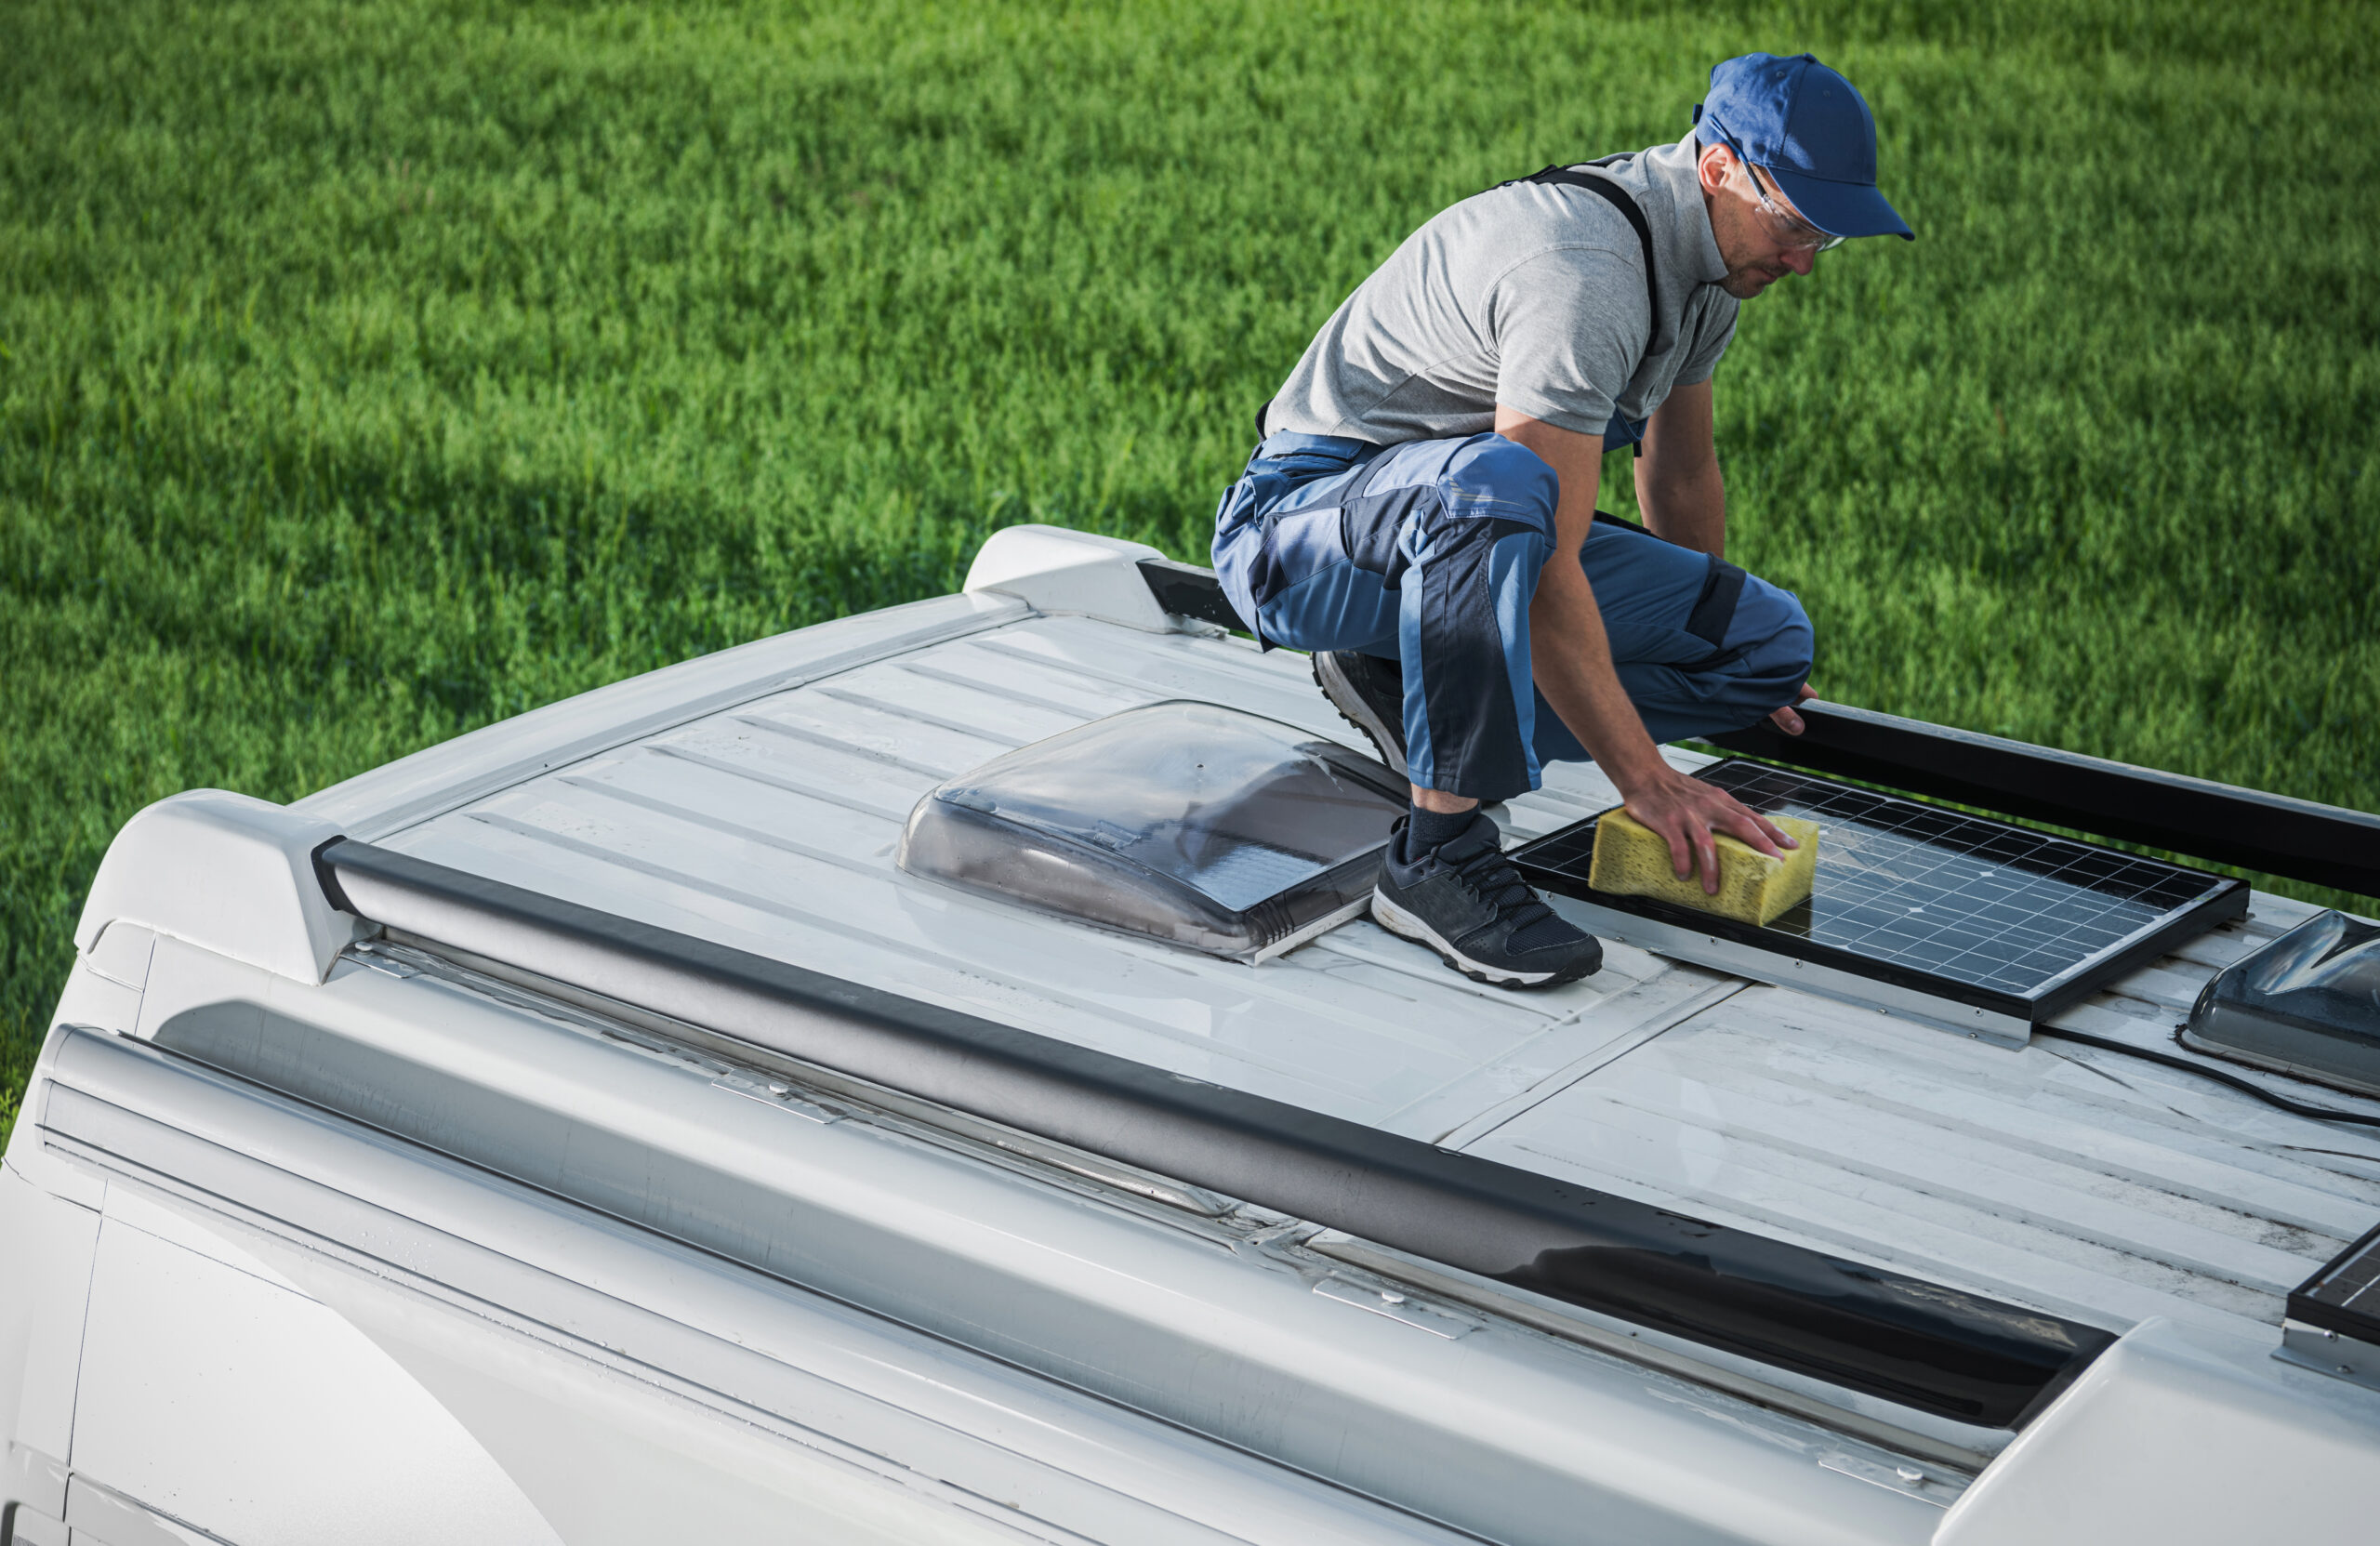
Owning an RV is an exciting gateway to endless adventures, but maintaining its key components is essential for its longevity and optimal performance. Among the critical aspects of RV maintenance is caring for your roof and its seals. This blog post will discuss the importance of RV roof seal checks and how often you should perform inspections to protect your investment and ensure a hassle-free journey. Let’s dive in!
The Importance of RV Roof Seal Checks
The roof of your RV is exposed to various weather elements, from scorching sun to heavy rain, and even freezing temperatures. Over time, these conditions can lead to wear and tear, causing the seals around roof vents, skylights, and other accessories to deteriorate. Failing to inspect and maintain these seals can result in significant problems, including:
a. Water Damage: Damaged or worn seals can allow water to infiltrate your RV interior, leading to costly repairs and potential mold growth. Water leaks can ruin your RV’s furniture and electrical systems and compromise your overall comfort during trips.
b. Structural Integrity: Properly sealed roof components contribute to the overall structural integrity of your RV. Ignoring seal inspections may lead to weakened roof sections, posing safety risks while driving.
c. Energy Efficiency: Air leaks due to damaged seals can impact the RV’s climate control efficiency, making it harder to maintain a comfortable interior temperature.
How Often to Check RV Roof Seals
Routine inspection of your RV roof seals is vital to catch and address issues early on, preventing more significant problems down the road. Here’s a guideline on how often to check your RV roof seals:
a. At the Start of Every Season: Before embarking on a new travel season, perform a comprehensive roof seal check. This ensures that your RV is well-prepared to withstand the weather conditions you may encounter during your journeys.
b. After Severe Weather Events: If your RV has been exposed to severe weather conditions such as heavy rain, storms, or hail, conduct a thorough inspection to identify potential damages. Any debris that may have fallen on the roof during severe weather would also need to be removed.
c. Every Six Months: Regularly inspect the roof seals every six months, regardless of the travel frequency. This practice helps catch any issues that might have developed over time, even during periods of non-use.
d. After Roof Maintenance or Repairs: Whenever you conduct maintenance or repairs on your RV roof, make it a habit to inspect the seals as part of the post-work evaluation.
How to Perform RV Roof Seal Checks
Performing RV roof seal checks requires a careful and systematic approach to ensure a thorough inspection. Here’s a step-by-step guide:
a. Visual Inspection: Start by visually inspecting the seals around roof vents, skylights, and other accessories. Look for cracks, gaps, or signs of wear and tear.
b. Physical Examination: Gently press on the seals to check for any areas of weakness or softness, which might indicate water damage or degradation.
c. Test for Air Leaks: Close all windows and doors, and turn on the RV’s ventilation system. Carefully run your hand along the seals to feel for any air leaks.
d. Sealant Reapplication: If you notice any issues during the inspection, promptly reapply sealant to the affected areas using the appropriate sealant type for your RV roof material. Here is A Comprehensive Guide to RV Sealants for Roof Maintenance
Conclusion
Regularly inspecting the seals on your RV roof is a crucial part of maintenance to protect against water damage, maintain structural integrity, and ensure energy efficiency. By adhering to a regular inspection schedule, you can catch any seal-related issues early on and address them promptly, safeguarding your RV and enjoying carefree adventures on the road.
